
Directions:
It's not really a board, rather it's a piece of fabric I backed with iron vinyl and then sewed to a piece of felt. The vinyl is essential to keep the backside from getting all dirty, especially at restaurants while we wait for our dinner at fancy shmancy places like Chilis, because I really don't want every meal out to come on a plastic tray!
To make one is really simple and I've improved the design since making mine to include a ribbon closure:
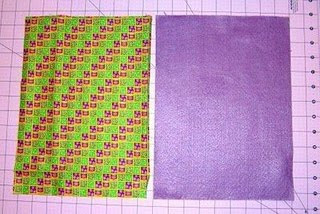
Cut a piece of fabric to the same size as your piece of felt, I just used the very inexpensive felt sheets that come pre-cut. They are the perfect size for rolling up and keeping in your bag without taking up too much room.

Cut piece of iron on vinyl to the same size as your fabric. Follow the directions on the package and iron onto the right side of the fabric. Let it cool off before moving on.
I found iron-on vinyl sold by the roll in a plastic bag on the notions wall at Joann's Fabric, a large nationwide fabric and crafting retailer. Watch for special sales where the entire notions wall is 40-50% off and same yourself some money!
----
Pin and sew vinyl covered fabric to felt, with vinyl covered side facing the felt. Before beginning attach ribbon.
On one side pin a piece of ribbon folded in half so that the loose ends are sandwiched inside between the vinyl covered side of the fabric and felt. Leave a bit of the loop formed when folding the ribbon in half sticking out between the pieces of fabric. When you are sewing around your "board" catch the ribbon and sew firmly into place by sewing over, back-stitching, and then forward stitching over it. This will become your tie.
Turn inside out and sew opening shut. My beginner skills are evident by the obvious stitching up the bottom right side on the one above but it still looks cute all rolled up! Use fabric scraps to make the felt shapes and you're in business! Your toddler is kept busy, and when she's all done just roll up the whole thing, tie closed, and now you don't even need a plastic bag to keep it in!

Found this great idea at katiesnestingspot.blogspot.com

No comments:
Post a Comment